
Cold weather is here, have you started winterizing your boat yet?
Here are a few more tips on winterizing your boat from one of our Marine Insurance carriers, ACE. We will present this information in 5 parts, you can view part 1 here, part 2 here, and part 3 here. This post addresses what to do After the Haulout, Inside the boat.
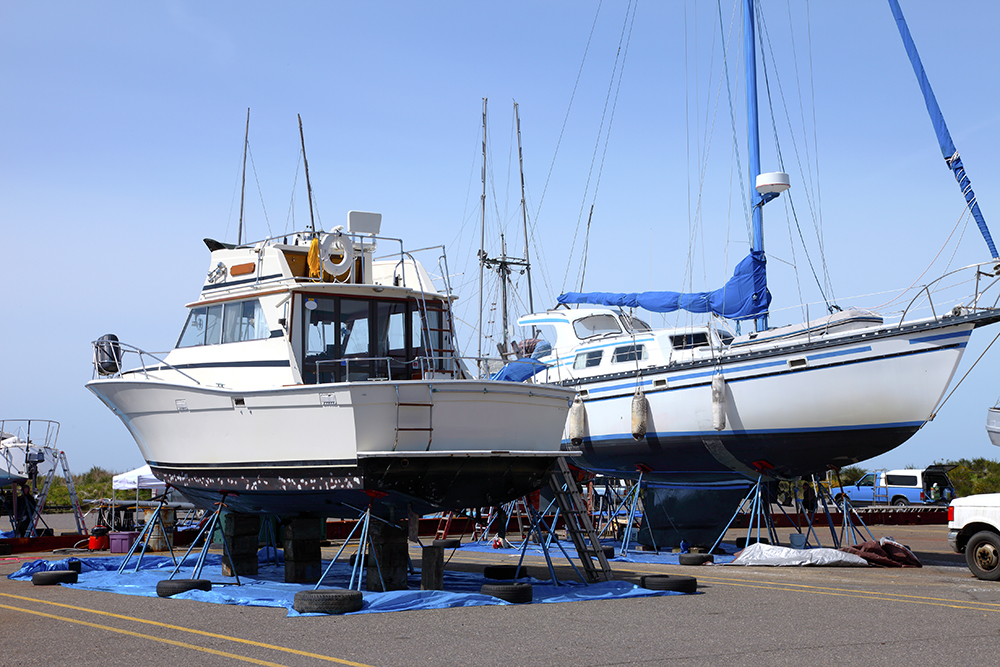
Outside the Boat
Once the boat is safely blocked in the yard, grab a pencil and a clipboard and walk around the boat’s bottom. Make a note of anything that needs attention.
Inspect the Bottom
Check all through-hull fittings and scrape inside their openings. You want to be sure the bronze is bright and smooth. If any through-hulls are covered by grates, it may be necessary to remove them to get a good look. Pitting or a pink appearance can indicate corrosion problems. If the struts that support the prop shafts are painted, scrape off a bit of paint so you can inspect them. Be sure all seawater intakes are clear of obstructions.
Through-Hulls and Zincs
Check all the through-hulls above the waterline. If there are any plastic ones, shine a flashlight into them and look closely for cracks. White plastic through-hulls are deteriorated by sunlight and they are under tension from the nuts tightened against the inside of the hull. Cracks are common and they can be a cause of sinking. Any questionable through-hulls should be replaced with marine-grade bronze or fiber-reinforced plastic.
If there are sacrificial zinc anodes attached to the hull, they should be removed prior to painting next spring. The hull under the zincs can be painted but be sure not to paint the studs to which the zincs attach. Mask the studs before painting and be sure they are bright and clean before replacing the zincs. It’s important that the studs and the zinc anodes have a good electrical connection. Install fresh zinc anodes if the old ones are half depleted.
There may also be zinc anodes attached to underwater metal parts, like prop shafts, prop nuts, trim tabs, rudders, bow and stern thrusters, and outdrives. Those zincs should be removed, the surfaces to which they attach cleaned to bright, shiny metal, and the zincs replaced.
Transducers and Running Gear
Underwater transducers for depth sounders, fish finders, and knot meters should be inspected. The faces of depth transducers should be clean and free of marine growth. Knot meter paddle wheels should turn easily and smoothly. Transducer faces can usually receive a thin coat of bottom paint. Check with their manufacturers before painting.
Check propellers for damage and straightness. A screwdriver, held tightly against the hull or against a strut, can be used as a reference. Check prop tips, and the leading and trailing edges of each blade. If you find variances of more than about 1/16 inch, have the yard remove the prop for service. Put a light coat of waterproof grease on the shaft taper and key when installing the serviced prop (hint: the narrow nut goes on first). When the clean, straight props are back on the shafts, check them again. If you still find too much variance, a prop shaft may be bent.
Check shaft bearings for wear. Try to move the shaft up and down. A small amount of movement is okay, but too much slack can mean the rubber bearing is worn out. If you’re unsure, ask your yard to check them for you. Also, check the rudders by trying to move the bottom of the rudder from side to side, and up and down. Too much slack can indicate a worn bearing, shaft or support collar. Inspect swim step supports, trim tabs, thruster grates and boarding ladders. If the ladder is telescoping and mounted under the swim step, be sure it deploys properly. Operate the trim tabs to be sure they have the proper range of motion.
Outdrive Hints
Outdrives often have rubber bellows between the drive and the transom. Those flexible rubber bellows can be damaged by sunlight, marine growth and chemicals, and they can wear out from normal raising and lowering of the outdrive. They don’t last forever. Inspect them carefully! It may be necessary to raise and lower the drive to see everything. Pay close attention to the “valleys” in the bellows, where cracks often occur. If a bellows looks less than perfect, have it replaced. Failed bellows are a major cause of sinking of outdrive-powered boats!
Run your finger along the edge of the skeg at the very bottom of the drive. If you find any oil, a seal may need to be replaced. Changing the oil in the drive would be a good idea. If the oil that’s drained out is cloudy or milky, it’s another sign that a seal is failing. Have bad seals replaced right away, since water in the oil can ruin expensive internal parts.
Important Tips to Remember
If the exhaust ports in the hull are normally plugged to keep critters out, remember to insert the plugs but don’t forget to remove them in the spring! If it’s an open boat and the hull has a drain plug, remember to remove it so rain and melting ice and snow will drain out. In the spring, be sure that plug is in place and tightened securely! Many a boat has sunk because a drain plug was overlooked.
Our Marine Team knows boat insurance inside and out. You’ve put a lot of time, money and effort into your vessel, now let Wells Marine Insurance carefully protect your boat from perils. Visit us at wellsmarineins.com or stop by our Wrightsville Beach office.
Related Posts


Leave a reply